Recently I wrote about how a photographer lost 20 different photo shoots and some of the things you can do to prevent this.
Now you are back in your home or office and it’s time to securely backup everything before you go to format those memory cards for use in your camera again.
Key items to having an effective backup solution is one that is simple, secure and reliable. And trust me I’ve been tripped up by the lack of one or all three of these at any time. It’s best to ensure your data reside in at least 3 locations, on 2 different backup systems and at least 1 backup is stored off-site.
So here is where my data resides:
- Locally on my computer
- Computer OS backed up on an external bootable drive connected to my computer
- Data backed up on an external backup connected to my computer
- On a Network Attached Storage server with a complete RAID 5 setup.
- On a remote Network Attached Storage server with a complete RAID 5 setup.
- And documents, spreadsheets, etc. on cloud storage using Dropbox.
Let’s go into this in more detail.
1) Locally on my computer
This is pretty obvious, this is my working area and all data is stored here. I have multiple terabytes of data stored here and ALL of my photos are stored and ready to go. Having all my data stored locally provides for fast efficient access to anything I want to work on. I don’t have any working files on any external device.
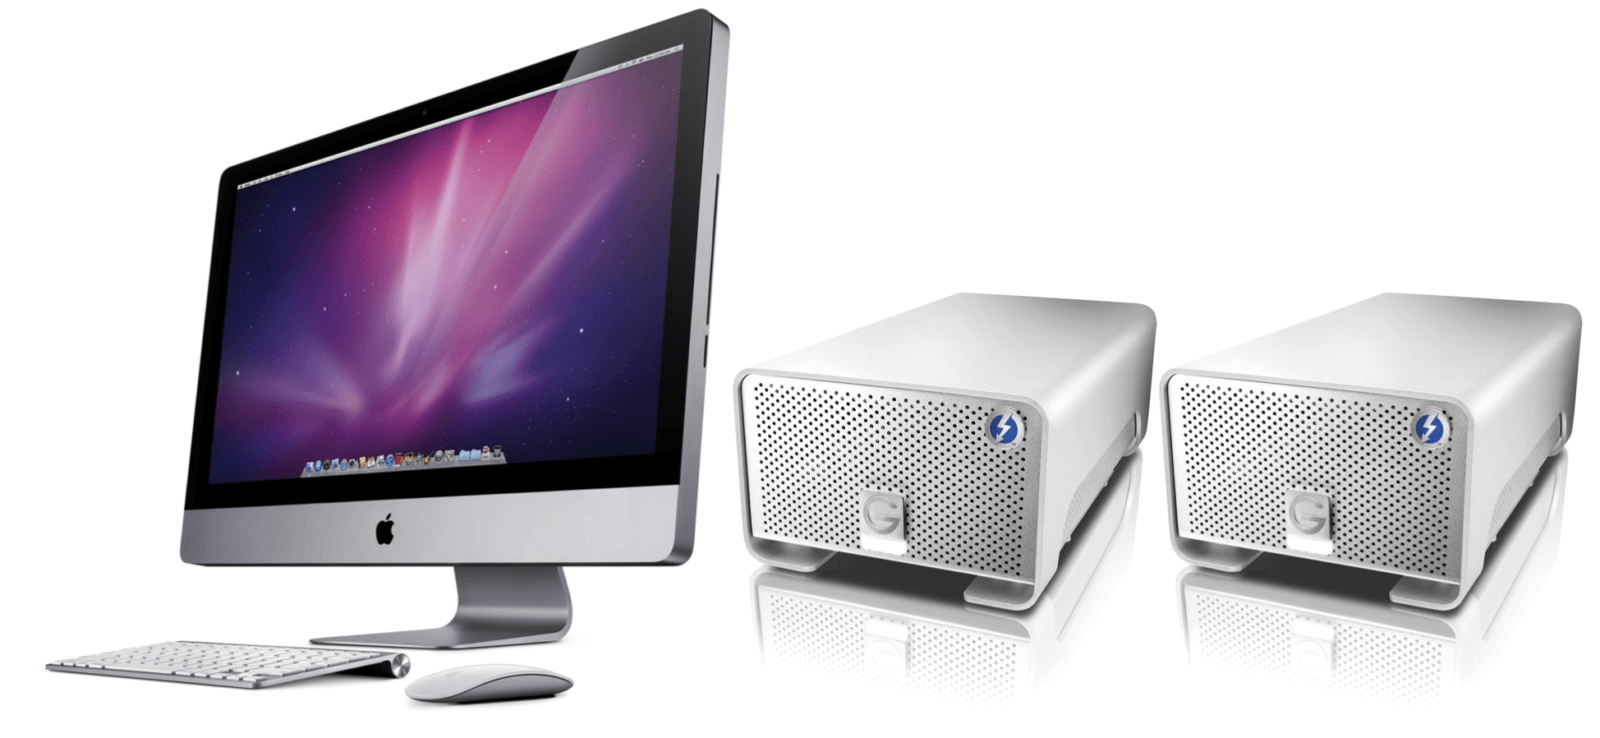
My setup comprises of my Apple iMac along with external G-Tech drives. Drive size really doesn’t matter as you’ll have to spec out your needs.
Obviously if this goes down I’m in real trouble, but keep reading you’ll quickly realize all is safe.
2) OS Backed Up
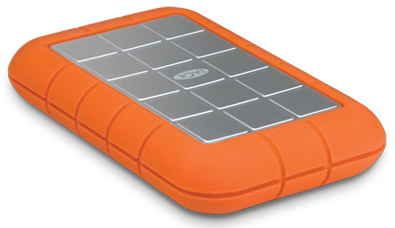
I have a separate external drive that contains a complete Mac OS X (operating system) backup. In the event my main computer drives have failed I can use this to boot from and have access to all my applications needed to continue to function. I can also use this bootable drive on my Apple Macbook Pro (laptop) at any time for apps that I don’t have installed on my Macbook.
3) Data Backed Up locally
Now it’s time to talk about the important stuff… REDUNDANCY! You have your data locally but it’s not a matter of “if” your drives will fail but rather “when”. In point 2 above we backed up our operating system & applications to allow us to be up and running again quickly. Now we have to make certain that we can retrieve our data should that be lost as well. This is where I’m probably a little OCD about ensuring I have a complete backup of my data. This point forward you’ll quickly understand just how much so.
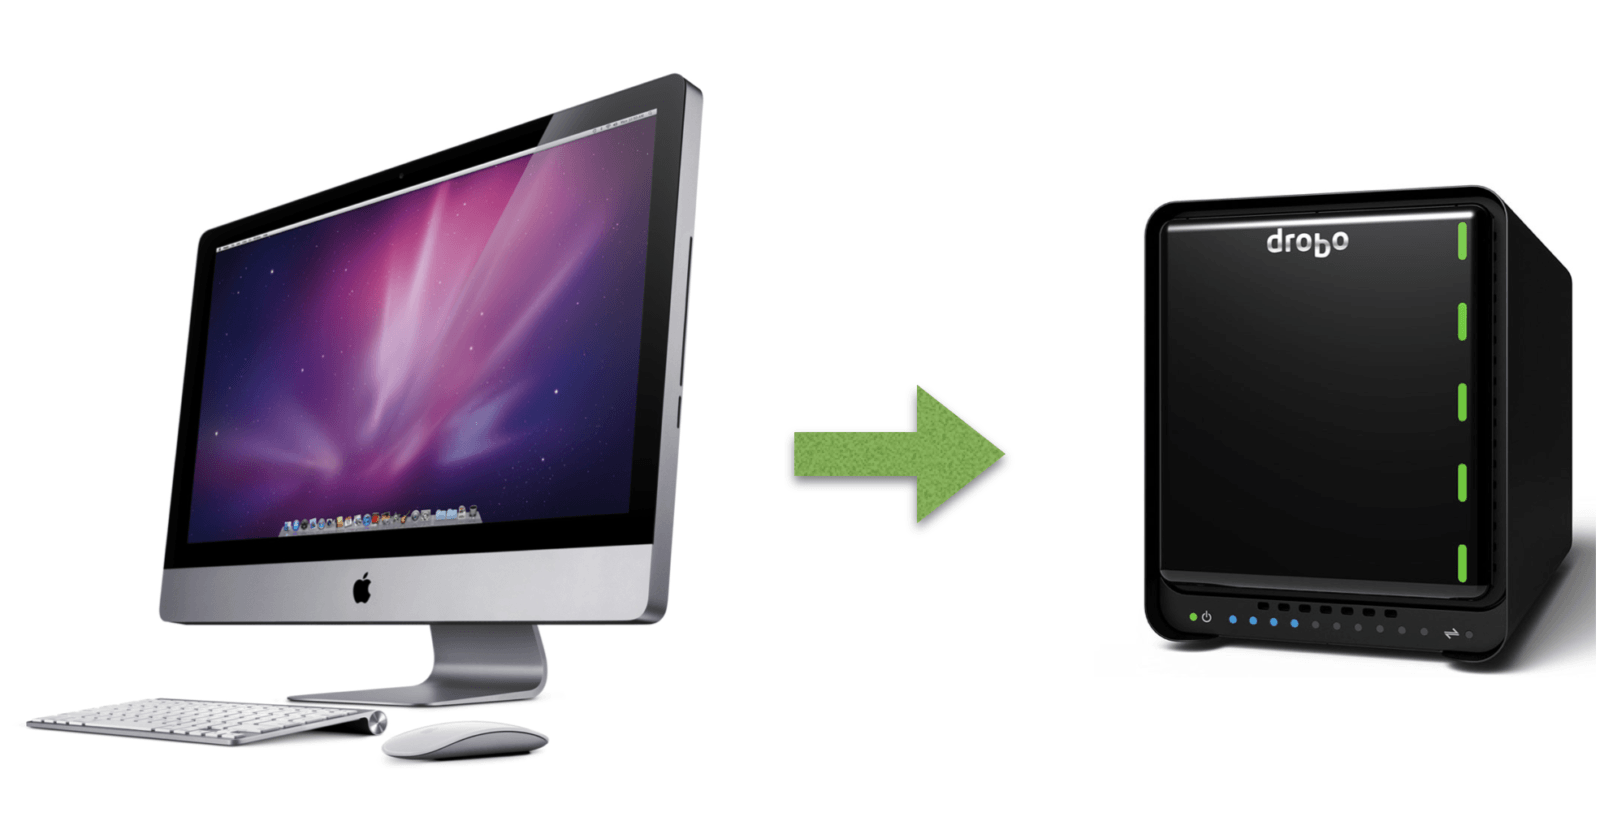
I use a Drobo direct attached storage device (DAS) to backup all my data so if I do need to restore I can do it quickly from this device. As a note, direct attached storage (USB, Thunderbolt) is going to be faster to restore from than from a network device or from a cloud storage service. I’ve used Drobo for a number of years. It sits on my desk and captures all my data backups with confidence. It’s not speed demon by any means but I only go to it in the event that I need to do a quick restore of some data files, otherwise it simply sits on my desk and chugs away when needed.
Now you may ask, what is a Drobo? This device allows me to put 5 hard drives into the unit and it manages all 5 drives as a single device. Should any one drive fail it will tell me to replace it and I haven’t lost any data. Very nice! Right now my Drobo is configured to store up to 16 Terrabytes of data, so at the moment I have lots of room available. Drobo’s are also very flexible in that they don’t need to have the same make, model & size of drive installed in each of the 5 bays.
4) Backup to my Network
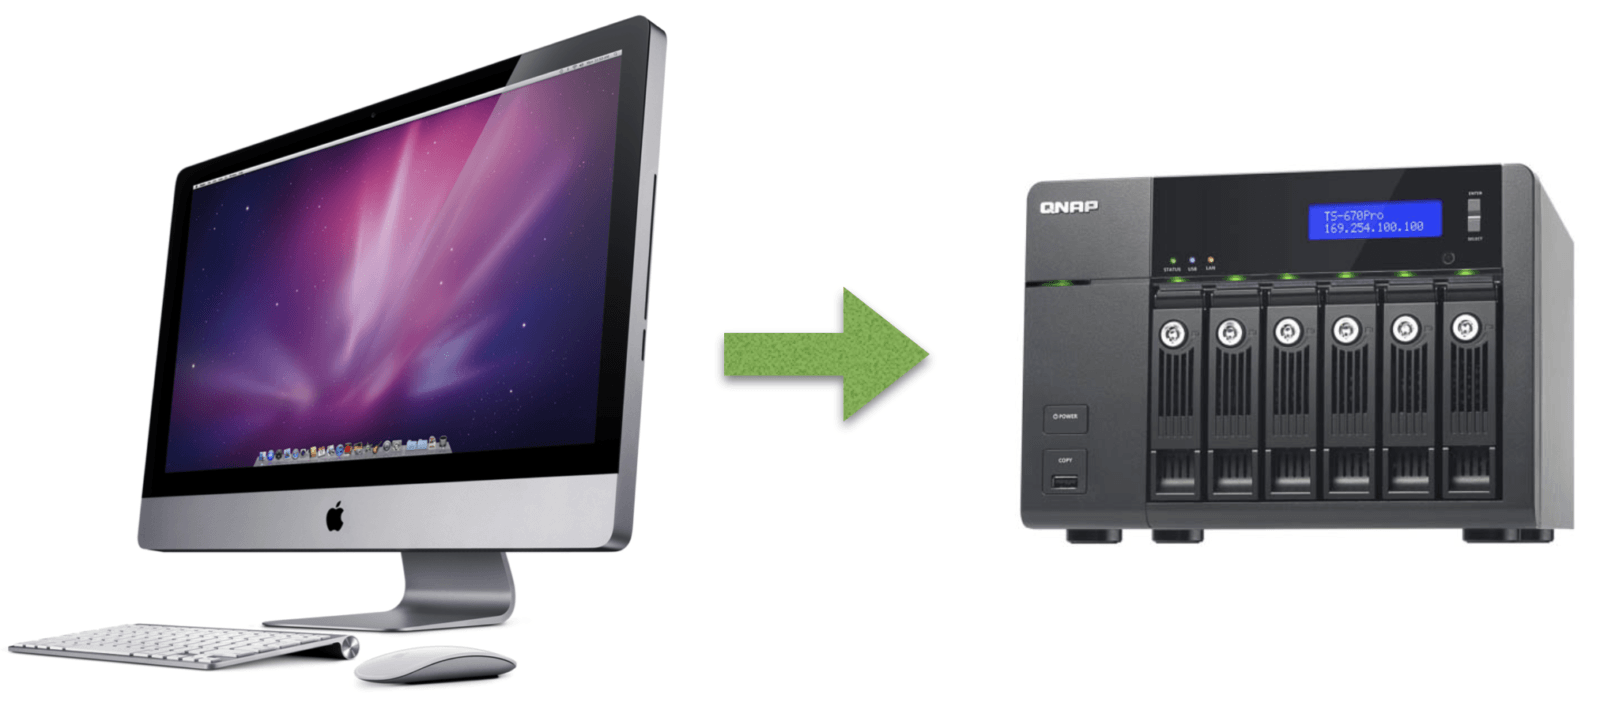
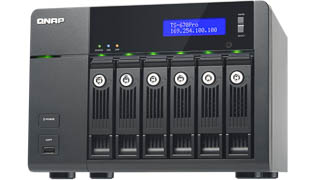
Now this is where things get to be “heavy duty”. My next level of backup is using a Network Attached Storage device (NAS). I use a QNAP 670Pro. This device is “industrial use” compared to the Drobo described above. This device is connected to my network in my basement away from prying eyes. If someone were to break into my home they likely would not find this device. It’s a further redundant system in my backup strategy should my Drobo fail I can always restore my data from the QNAP. Again this device has 6 drives in it which any 1 of them can fail and I can hot swap (change out without shutting down) with a new drive and not loose any data (RAID 5). All hard drives are Western Digital Red drives which are designed for server/network usage to withstand long term use. The system is configured with 6 x 4TB drives which gives me a total of just over 18TB of usable space.
I should note, this is not simply a hard drive backup solution, this is a complete server solution that provides many services including Backup server, iTunes server, Download server, Cloud server, Web server, Mail server, Business apps, Plex Media Server, etc. In other words, you can call this a complete application server with backup capabilities and more.
In addition to all the server functionality it self monitors the hard drives health, temperature, to ensure a solid healthy backup solution. If anything looks wrong it will send me an e-mail of any warning or system alerts. I can also monitor the server remotely through my iPhone.
5) Backup to my remote NAS
At this point I have my data in 3 locations, all of which are located in my home office (desktop, Drobo, & QNAP). This provides me enough redundancy that should a computer or hard drive fail I can be completely up and running again in no time with little downtime and the risk of data loss at a minimum.
However the next level ensures that should I experience a natural disaster (fire, flood, etc.) in my home or theft I am still well protected.

QNAP provides a “Backup Station” to synchronize the data from my home location to a remote location. The important point here is the remote location should be far enough away to protect your data from natural disasters. In my case the remote NAS is about 900 kilometres (550 miles) away. The source folder is mapped to a destination folder and a schedule is setup to send data to the remote server. My son uses the remote server as his backup and has a backup syncronization coming back to mine so he also has a redundant backup solution.
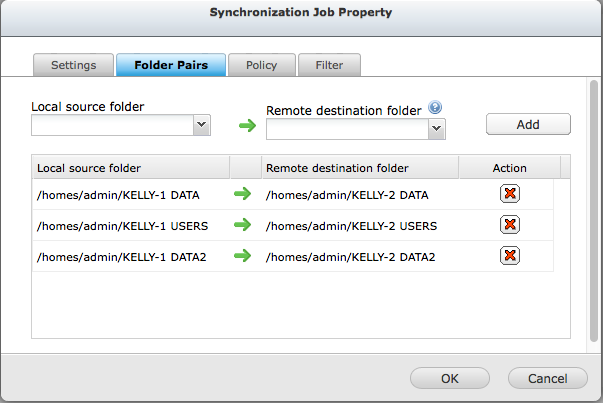
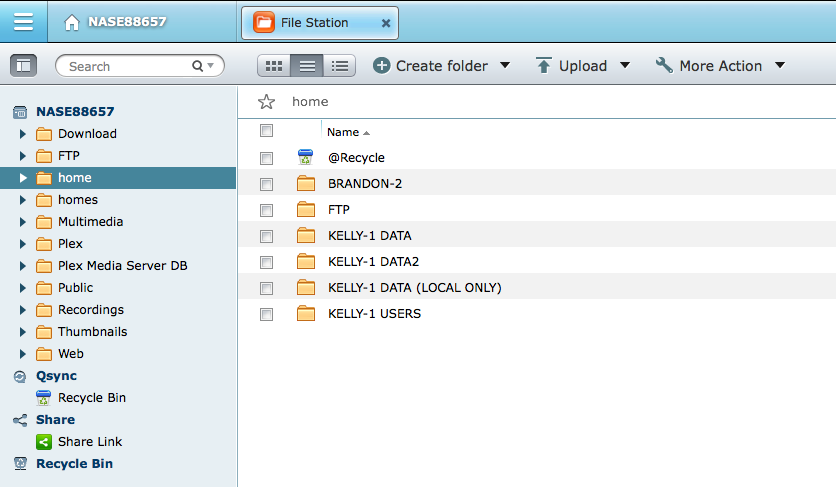
To ensure I know which QNAP I’m looking at (local or remote) I name the folders as “Kelly-1 Data” for my local data and “Kelly-2 Data” for my remote data.
6) Cloud storage for other files
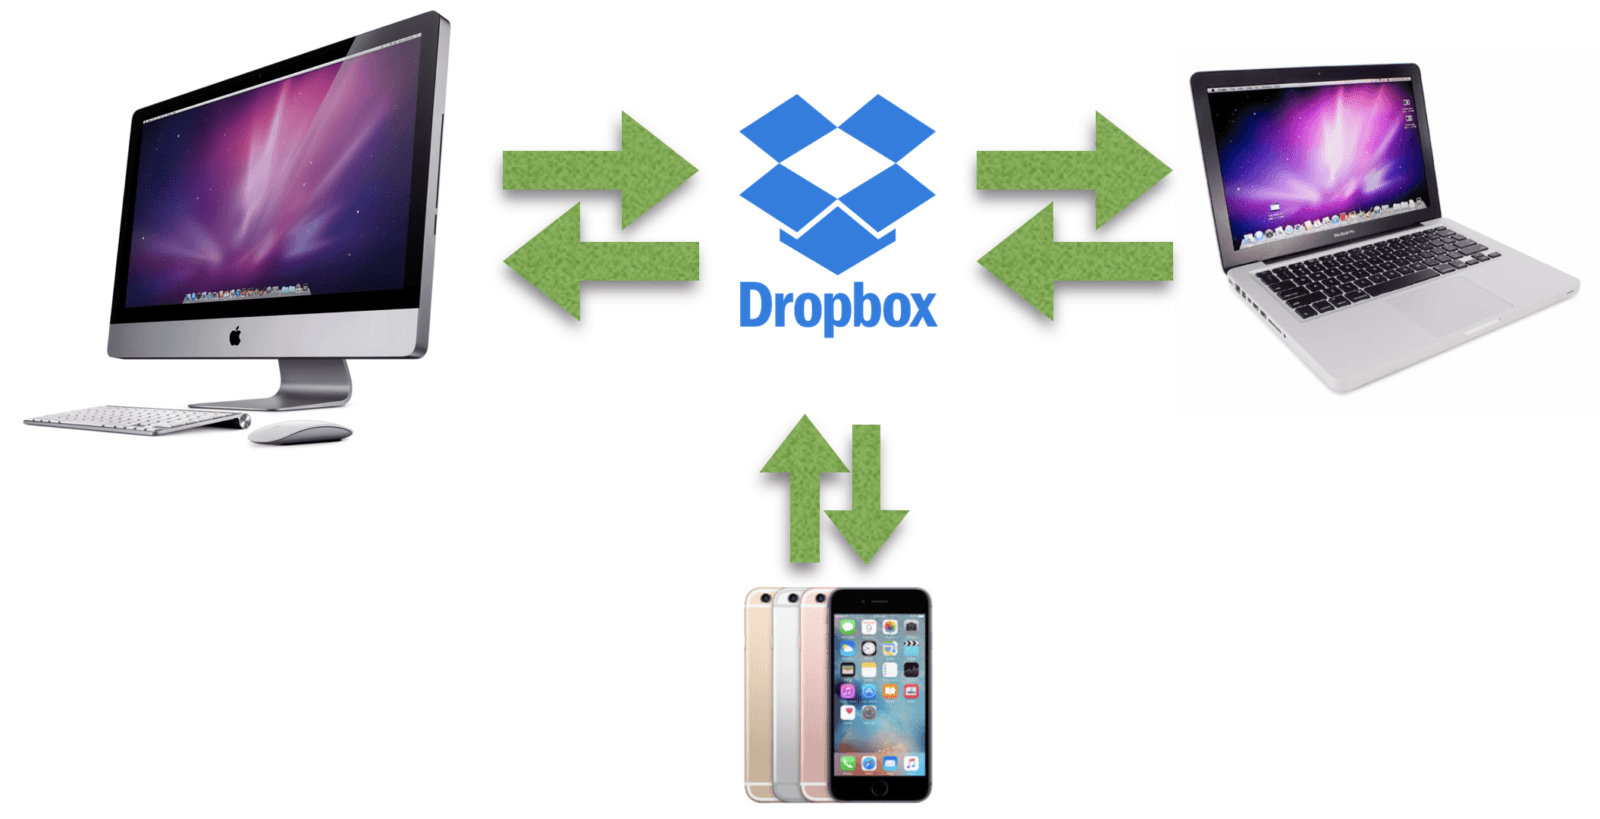
For convenience I use Dropbox to store documents, spreadsheets, presentations etc. Dropbox synchronizes all these files between my laptop and desktop computers so I have them handy at any time. I also have the Dropbox iPad and iPhone apps so should I need to access something remotely I can get at them anytime, anywhere.
Of course there are other providers such as Google Drive, Microsoft OneDrive, Apple’s iCloud, Amazon Drive, etc. There’s even a QNAP cloud service that I can use with my internal QNAP NAS however because I was already using Dropbox I’ve just continued using it.
Backup Software
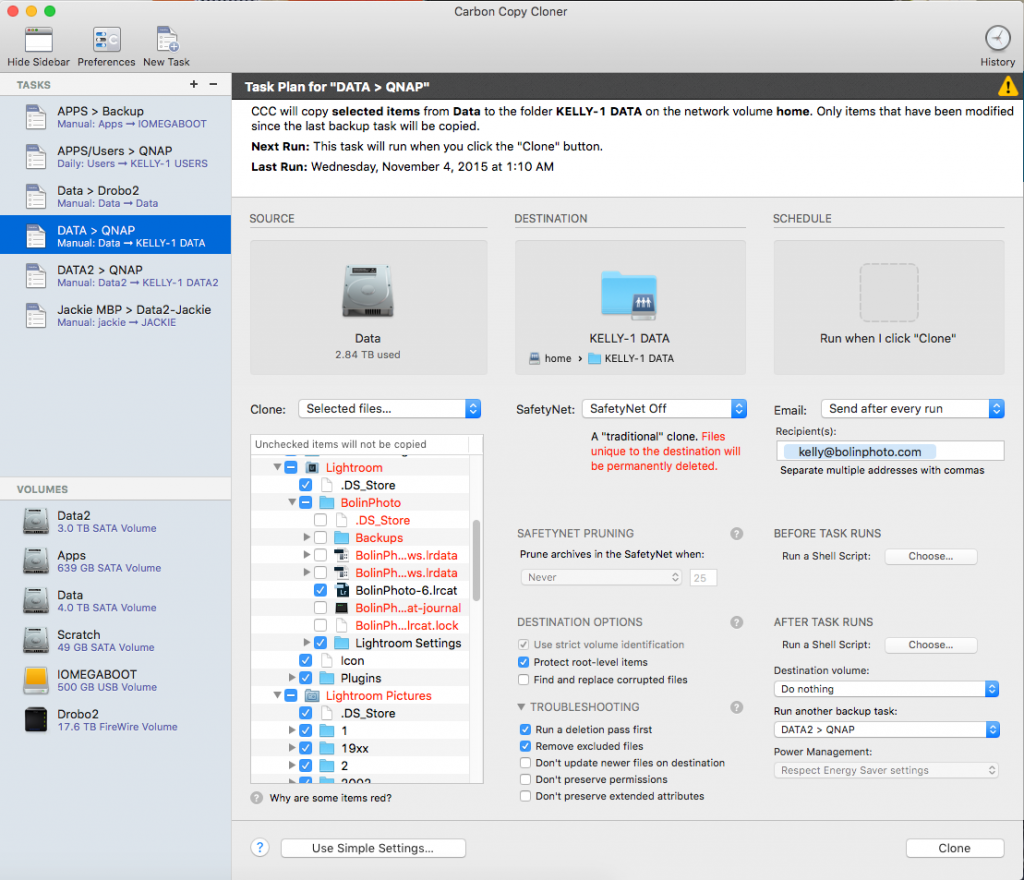
As I use a Mac computer I use Carbon Copy Cloner (CCC) for my backup solution. This simple, efficient and fast backup solution works great for me. I have used other products but found some to be buggy and/or complex in their setup. This solution allows me to copy the data from my desktop to the Drobo or QNAP server.
CCC has a feature called SafetyNet that will put any modified or deleted files you have previously backed into a folder called “_CCC SafetyNet”. If you inadvertently deleted a file from your desktop, CCC will remove it from the matching backup folder and put it into the SafetyNet folder should you later decide you didn’t want to delete it. It’s quickly recoverable.
I know many people who use Apples Time Machine. This easy to use solution is a standard app with OS X. What is nice about this solution is it is very easy to use and setup. This makes the solution effective as people actually use it. Better to have some sort of backup than none. So why don’t I use it? I prefer to have complete control over what files are being backed up and which I decide are not necessary. It really comes down to that. So don’t feel CCC is a better solution than Time Machine, quite frankly any solution that backs up your data confidently is ideal vs. the alternative of data loss.
To further promote the use of QNAP, there’s even Time Machine support with it. Turn on the Time Machine server and you’ll have it available within the Time Machine app on your Mac.
Final Test
ALL OF THE ABOVE IS IRRELEVANT IF YOU CAN’T ACTUALLY RESTORE FROM YOUR BACKUP SOLUTION!!! Don’t wait for a system failure to find out that your backup solution hasn’t been working properly. Once a month I will go to each of my backup devices and restore files to a new location on my desktop and open them. Whether it be a word document, excel spreadsheet, RAW camera file, video file, etc. I want to ensure everything I have done above is actually working properly.
Notifications
You know what “assume” is short for? Assuming anything makes an “ass” out of “u” and “me”. In this case assuming that all of the above is working properly is just making an ass of me. As I mention in the Final Test ensuring you can restore files I also receive e-mail notifications when each backup run has been completed and if there are any errors. I immediately will check out error resolutions. If I don’t receive an e-mail I know something isn’t working properly and will follow up. I know with my backup evening backup that I should see 5 e-mails each morning and an additional 1 on Sundays when the NAS to NAS backup runs.
Any questions, don’t hesitate to ask.
~RoTP team
Comments (2)